SOLO TAIL
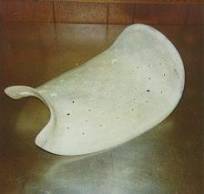
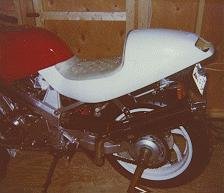
To complete the “look”, I decided to fit a solo tail section. At the time, there was a guy making a neat little fiberglass tail section designed specifically for a Hawk named Kevin Greer. I looked at the web pics on Kevin’s site, talked with Kevin some and decided to take the plunge and get one. Quality control wasn’t super great (guess I was spoiled by the Sharkskinz ‘glass!), but with a little clean-up and body-work it came out very nice. Unfortunately, as far as I know these tail sections are no longer available.
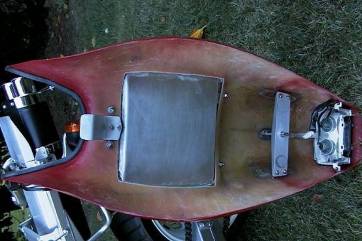
The tailpiece was delivered without any mounting hardware, and was basically designed for a race bike. These are typically just bolted onto the subframe with homemade brackets. That wasn’t the way I wanted to go with it, so I studied the Hawk OEM seat mounting and devised a way to make the whole tail mount on and come off like the original seat did. This required custom fabricating some mounting brackets on the underside of the tail and coming up with a way to adequately support it on the bike.

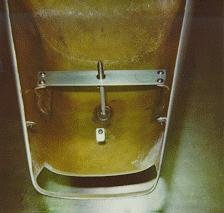
The post in the rear snaps into the OEM seat lock, just like the Hawk seat does. The tab up front slides under the bracket, again, just like the seat.
 This
tail uses the original Hawk taillight, which mounts in the opening at the
rear. A quick disconnect in the wiring
allows the light to stay attached to the tail during removal.
This
tail uses the original Hawk taillight, which mounts in the opening at the
rear. A quick disconnect in the wiring
allows the light to stay attached to the tail during removal.
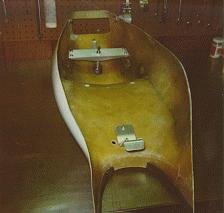
Now for the seat itself. Since this tail was designed for a race bike, the typical seat is a thin piece of foam glued directly onto the fiberglass. This wouldn’t do for my skinny rear! I laid up a fiberglass seat pan on which upholstery could then be added. Here’s the first version:
Here’s the “final” first version:
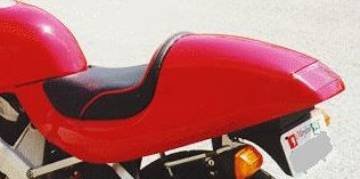
Unfortunately, due to the convex shape of the seat pan, there was only about 1” (or less!) of padding in the middle. Basically, after about ½ hour of riding the derrière required some R&R time – so the best laid plans don’t always work out…..
Plan B: Add in some more padding. To do this the tail section had to be relieved (read- cut out) under the seat pan area. This corresponded with a similar cut-out in the major portion of the seat pan itself. This hole was then filled by bonding in a semi-flat aluminum section, making the seat pan more or less flat across the width. This ultimately allowed another good inch of padding, which was performed by some of Seargent Cycles “Super Foam”.
While doing all this work, I also decided to do away with the “vertical” section at the rear of the seat pan. It looks nice, but takes away from the seating area and you don’t really ride against it anyway. Most modern sport bikes just run a simple flat seat, so that’s the way I wanted to go with it.
Here is a shot of the new configuration:
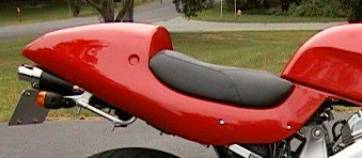
Cleaner, more padding, no piping. More comfy too!
Here’s what it looks like underneath: (note the flat aluminum section now serving as the bottom of the seat – and how it is exposed through the tail section)